False Ceiling Boards - Interior works
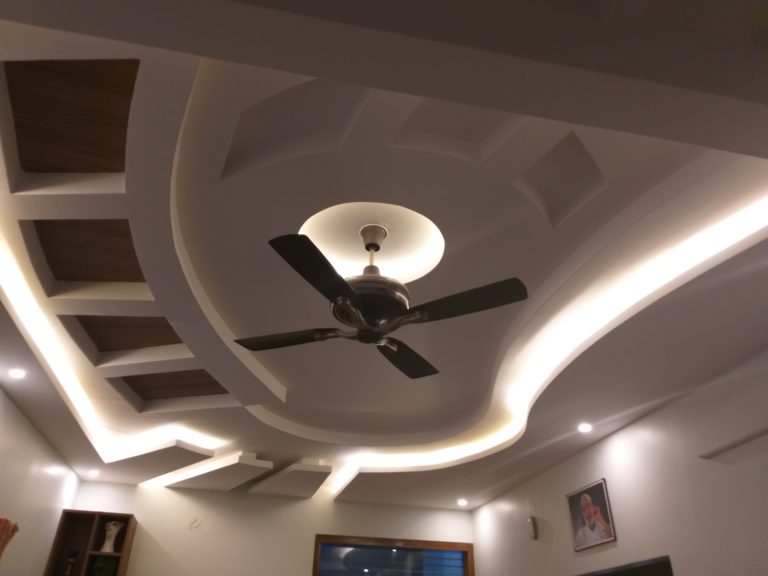
How to do False ceiling ?
Tools used for fall ceiling work :
Drilling machine, taping Knife, Scaffolding ladders, stand, self-levelling laser, rawlplug, Electric drill with clutch attachments, circular saw, cutting tool, applicator, Line threads, Straight edge, connecting clip, joint paper tape, plumb bob, spirit level, level tubes, line marker, pencil, stud interlocking tools, chisel, hammer, hack saw, crimping tool, foot lifter, screw driver, screws, tester, Level Clip, soffit cleat, level adjuster.
Cutting of false ceiling boards :
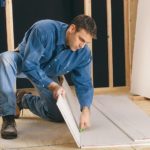
- False ceiling boards can be simply cut either its width wise or lengthwise. A line is drawn using line marker or pencil before cutting. Cutting should be done on front face of the board by using cutting knife.
- With both hands simultaneously pressed on the board, and the gypsum core will split exactly in line with the cut on its side face. Then the board is turned over and the other side of paper also to be cut with the cutting knife.
- Only when bulk quantities of False ceiling boards cuttings are required, the necessity of circular handsaw will come into picture, otherwise with the help of normal saw, boards can be easily cut and curves cutting can be done with an electric tool.
- First marking is to be done for circular holes for electrical plates, wires, fixtures and then drilling up to 60 mm to 80 mm by using still high speed drill. All cut-outs to be made using standard Electrical or carpenters’ tools.
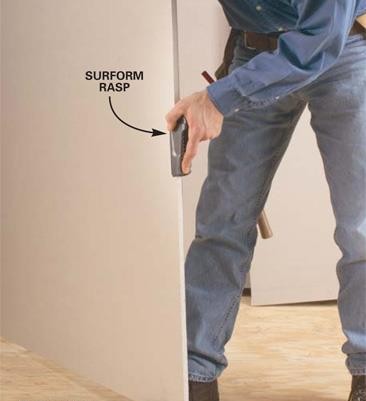
- To overcome the irregularities of False ceiling board edges after its cutting, smooth planing is required for leveling and can be done by placing number of boards together or for single board, also gentle sanding by sand paper, uniformity and accurate level of planing will obtained.
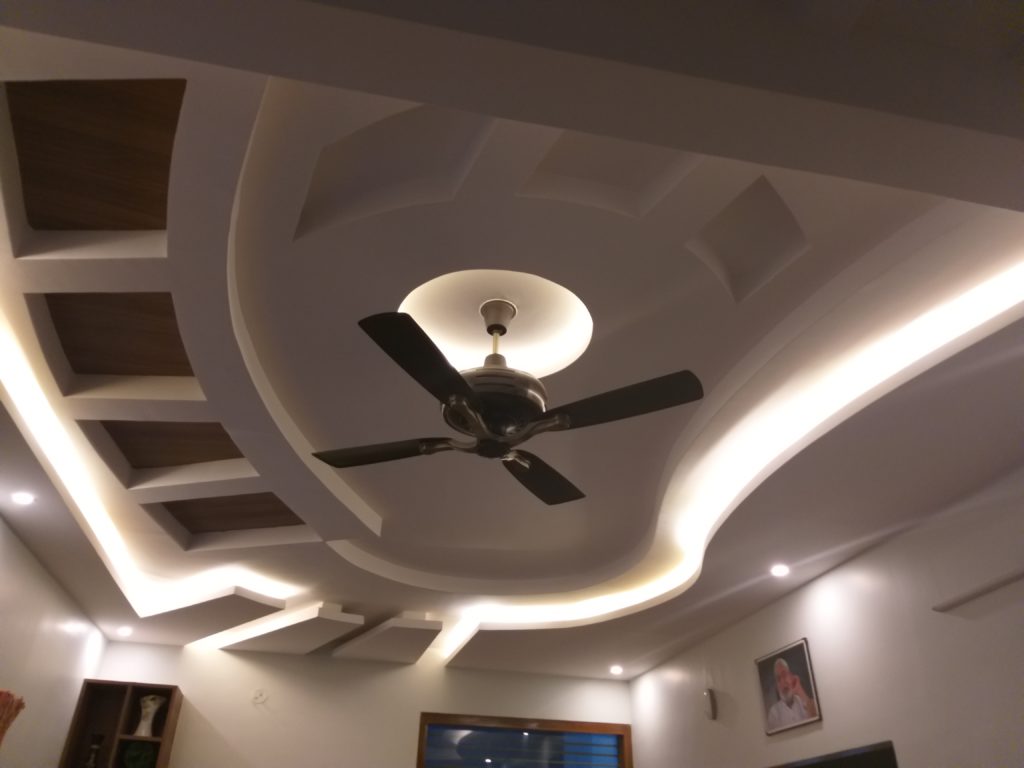
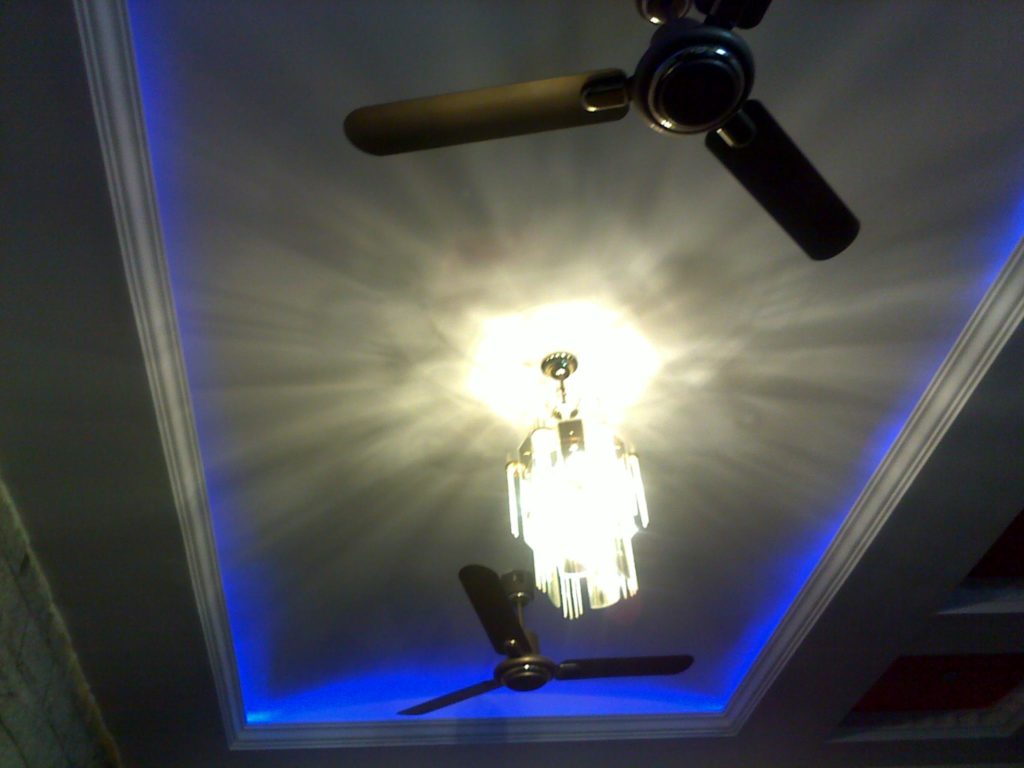
- Uses : False ceiling boards can be used for decorative purposes as per modern false ceiling design like curved line, turnings, irregular shapes and curvatures. For this water spraying is to be done for either sides of board till it is wet. Wet boards should be bent gradually with utmost care, then fixed in the required position, after fully dry, then jointing to be done.
Handling and storage :
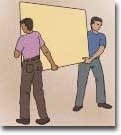
- False ceiling boards are unloading by manual skilled workers only. Always bear in mind that boards are not to be lifted on their short edges and not supposed to hold in horizontal plane Position. Carry the boards on the edges, holding on long Edge by two men and supporting top edge to avoid breaking due to bending.
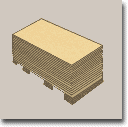
- Always the boards should be stored under enclosed room protects from rain and water. They should be rested over wooden planks or runners at 18” intervals on level floor.
- After successful completion of pressure test, the pipe joints should be well insulated using a reputed approved brand of insulating materials.
Procedure : How to do fall ceiling?/ fixing false ceiling using false ceiling sheets
Setting out :
Setting out and marking will be done as per approved architectural drawing and interior false ceiling design. Height of ceiling for all areas to be marked well in advance with the help of dumpy level. The same will be transferred on all the corners and chalk lines or marker lines will be marked.
Fixing of wall angles :
All wall angles should be fixed along the marked ceiling line depending on the substrate at 600 mm c/c spacing. Before fixing the wall angle, the substrate should be finished with necessary finishes as per the finishing details.
Fixing of suspended vertical Hangers :
Fixing of hangers should be done as per the approved architectural drawing layout details, by using only reputed brand of approved hanger anchorage fixing to the ceiling. All the location points of the hangers marked on the ceiling should be reviewed by Project in charge, QA engineer and consultant. After completion of all works of MEP (Mechanical, Electrical and Plumbing) and clearance certificate from MEP Engineer, hangers should be fixed at a spacing of 900 mm or 1200 mm c/c in both directions.
Frame work :
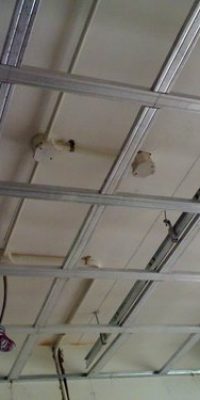
The framework to be done as per approved architectural drawings and with reputed brand of approved false ceiling material. Framing members like Main Runners and GI Channels of 0.55 mm thick should be placed at regular intervals of 900 or 1200 mm distance. Heavy weight embedded fixtures should not be resting over these frame work, instead it should be directly anchored to the ceiling with independent supports.
Framework inspection and MEP clearance :
After completion of framework, concerned areas including MEP, civil, architects and consultants should be called for inspection. Inspection request should be raised on approved formats for first fix and second fix of ceiling. After obtaining the green signal from MEP, Closure work for all cut-outs and opening voids should be started by false ceiling board installation. False ceiling boards of approved and reputed make should be fixed to the framing using gypsum screws at 200 mm c/c. For Tile ceiling, the void closure should be done by placing calcium silicate tiles on the entire grid frame.
Taping, Jointing and finishing for false Ceiling design :
The following coat should be applied over the joints. a) First Coat or Jointing Coat b) Second Coat and c) Third Coat
First coat is primary jointing method where the fiber tape is fixed over the thin joining compound applied over the joints. Another layer of jointing compound of 75 mm wide fixing also to be done over the tape to cover Screw heads of ceiling. After dried these coats, the second and third coat should applied continuously. Each and every coat is to be feathered 50 mm outside the previous layer sides of the joint. Finally smooth sanding to be done and after drying it is ready for painting works.
Final inspection :
After completion of taping, jointing, QA Engineer and site in charge should check the level and ensure, that is in true level and the work is within the acceptable limits.
Cleaning and Handover to the Painting works : After completion of all these activities, the area should thoroughly cleaned. Once the cleaning is done and approved by site in-charge a “Request for inspection” could be raised and after getting green signal from Project in charge, The area then would be handed to the painting and finishing works.
- Caution : The dust obtained from sanding at the joints should be removed either using soft cloth or soft broom before the commencement of painting works.
- Tip : Always use fisher plug with 35 mm long GI screws are recommended for perimeter channel fixing and black star screws of 25 mm for fixing false ceiling boards.
Health and safety hazards :
All necessary safety measures using PPE’s, (such as nose mask, goggles, helmets, Hand gloves, shoes and safety belts ) ladder, scaffolding stand, platforms, first aid should be available at working place, have to be followed as applicable, and all the safety measures are covered separately in the Project Safety Plan.
Inspection methodology for quality inspection :
a. Check for alignment, level and verticality using the appropriate tools.
b. Ensure the joints are sunken by 4 mm to 5 mm at the joints to the width of the fiber mesh or paper tape
c. Ensure fiber-mesh or paper tape is fixed for all horizontal corners and joints.
d. Make sure all vertical joints are fixed with corner beads.
e. The Gap between two false ceiling sheets should be restricted to or less than 5 mm.
f. Ensure horizontal bracing are provided for GI frame in partitions of more than 3 m height.
g. Ensure horizontal bracing are provided for GI channel frame in slim partitions or places where wall mounted fixtures, switch plates etc. are likely to be fixed.
Connect with us to avail a complete construction services
CONTACT US
15/4, gurunath 2 A cross Hanumagirinagar, Chikkallasandra Main Road Subramanyapura,
Bengaluru – 560061
info@myhomemydesign.in
Our Happy Clients
Client Testimonials
I whole heartily congratulate the unique website “My Home My Design’ which gives immense pleasure and information about construction aspects. The top categories covers all topics of civil engineering & construction technology, highly useful to professionals & people wants to build their houses in a complete satisfactory manner without lack of engineering knowledge. Now they can proudly feel the happy results. I look forward more and more information in future which benefits all people throughout the country.

Shri Srinivasa Narasimaiah is a highly knowledgeable, practical man strict to the Quality Principles in construction methods as well as materials and not comprising at any cost.

LLP, Ex-President- RMC Readymix (India)
With 27 Plus years of vast Experience in construction field, Shri N.Srinivasa is Chief Quality Auditor, guide,strength &backbone for all our projects as far as quality & workmanship is concerned.

Really superb, this website shares immense knowledge about A- Z of construction activities in a standard and technical way. The ideas, caution, advice at suitable places highlights the creator’s practical exposure and experience in the subject. Similarly photos, description and videos gives immense knowledge for all construction aspects. I wish all the success for this website and likewise spread this useful information to the people across the globe.
PraveenShrusti Design Consultants
Shri Srinivasa Narasimaiah was the main pillar behind our Prana Medical centre construction from start to finish including Plan, Construction, Quality, workmanship and timely completion.Without his cooperation the project wouldn't have been completed on time.

MBBS and Chairman at PRANA MEDICAL CENTER, SPECIALIST CENTER FOR DIABETES, ENDOCRINE,
OBESITY. – Kodambakkam – Chennai- 600024
Previous
Next
Always Dedicated & Devoted
Latest Projects
Excavation for basement and footing
October 16, 2019
Compaction of Concrete
October 10, 2019

Building ByeLaws for Residential Buildings – All You Wanted to Know
September 22, 2019
How to Plaster Your House? Guide for Home Plastering
July 19, 2019
EXTERIOR PAINTS – PAINTING WORKS
July 19, 2019
CONCRETE – RCC WORKS IN CONSTRUCTION – PART1
July 19, 2019
